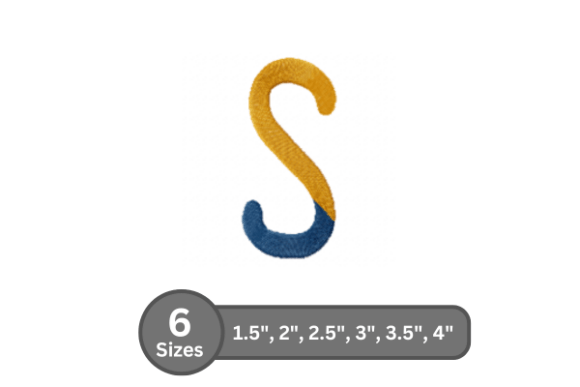
Chalk Split Alphabet -S: A Bold Choice for Embroidery Enthusiasts
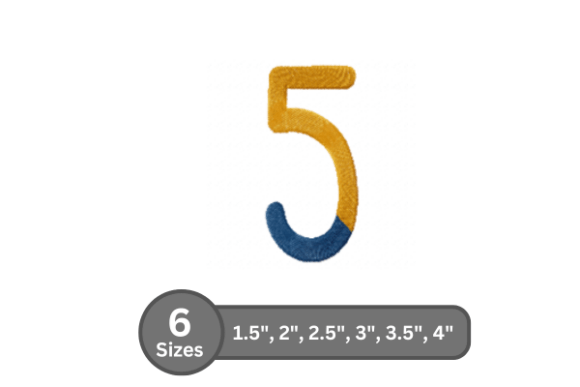
For anyone passionate about embroidery, finding the right font can make all the difference. The Chalk Split Alphabet -S is a fill stitch embroidery font designed with precision and purpose. It’s ideal for personalizing clothing, bags, towels, and home décor items, offering a clean, stitched look that adds character and professionalism to any project. Each letter is available in multiple sizes, making it a versatile option for monograms, names, and creative lettering.
What sets Chalk Split Alphabet -S apart is its clean, split-stroke design that mimics hand-drawn chalk lettering while maintaining the structural integrity needed for smooth embroidery machine performance. Whether you're a beginner or a seasoned pro, this font brings a classic, bold aesthetic to your work without compromising on stitch quality or execution.
Common Missteps When Using Chalk Split Alphabet -S
Despite its many advantages, users sometimes make avoidable mistakes when working with this font. These missteps can affect the final appearance, durability, and even the ease of use. Understanding what to avoid can help you make the most of this versatile font and ensure your embroidery projects turn out just the way you envisioned.
Mistake 1: Ignoring Fabric Type and Thread Tension
One of the most overlooked details is how fabric type and thread tension interact with the Chalk Split Alphabet -S design. Because of its bold, split-letter style, the spacing between stitches can be more noticeable on certain materials. If the tension is too loose or the fabric too thin, the gaps might appear uneven or messy.
Solution: Always test the font on a scrap piece of the actual fabric you plan to use. Adjust the tension settings on your machine accordingly and consider using a stabilizer if you're working with stretchy or delicate materials. This small step can dramatically improve the clarity and crispness of your finished letters.
Mistake 2: Skipping the Resizing Guidelines
While Chalk Split Alphabet -S comes in multiple sizes, resizing the letters beyond their recommended limits can cause distortion. Some users attempt to scale letters manually in their embroidery software, which can lead to poor stitch alignment and uneven spacing.
Solution: Stick to the provided sizes whenever possible. If you need a size that isn’t included, use the font’s built-in scaling features or consult your embroidery software’s resizing tools to maintain proportion and stitch density. This ensures your text remains sharp and readable without compromising the font’s integrity.
Mistake 3: Not Checking Machine Compatibility
Another common issue is assuming that all embroidery machines will handle Chalk Split Alphabet -S the same way. While the font is digitized for smooth stitching, not all machines interpret embroidery files identically. Older models or machines with limited memory may struggle with complex fill stitches or large lettering.
Solution: Before starting a large project, verify that your machine supports the file format (like .dst or .pes) and has sufficient memory capacity. If necessary, split the design into smaller sections or use a simplified version of the font to ensure smooth execution without errors.
Mistake 4: Overlooking Proper File Organization
Users sometimes download the Chalk Split Alphabet -S package and jump straight into stitching without organizing the files properly. This can lead to confusion, especially when multiple sizes and letters are involved. Misplacing or mislabeling files can cost time and create unnecessary frustration.
Solution: Create a dedicated folder for the font and organize the letters by size or format. Use clear naming conventions (e.g., “ChalkSplit_S_2in” or “ChalkSplit_L_4in”) so you can quickly locate the right file when needed. Keeping your digital workspace tidy pays off in efficiency and accuracy.
What to Check Before Purchasing or Using Chalk Split Alphabet -S
Before investing in any embroidery font, including Chalk Split Alphabet -S, there are a few key considerations that can help you avoid disappointment and wasted time.
- Format Compatibility: Confirm that the font includes file types compatible with your embroidery machine (e.g., .dst, .pes, .jef).
- Size Range: Check if the font offers the size variations you’ll need for your intended use, whether it's small monograms or large lettering.
- Stitch Count: High stitch counts can slow down machines and increase thread usage. Look for a balance between detail and efficiency.
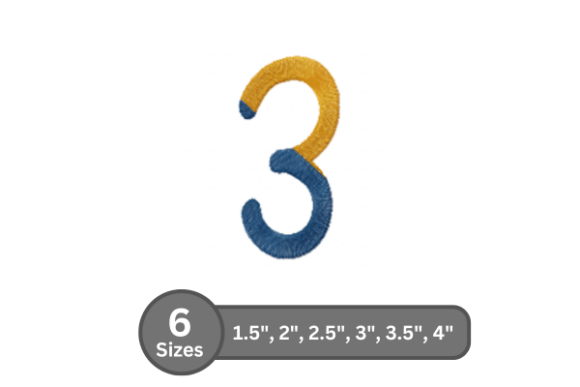
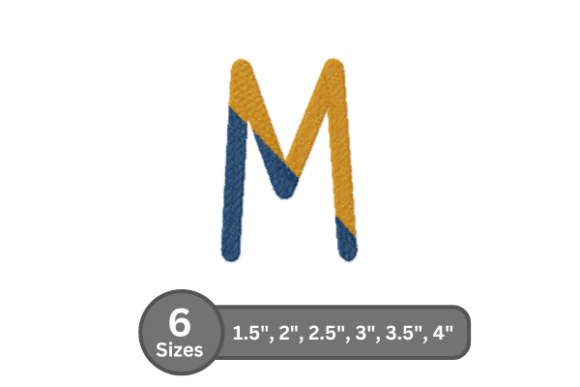
- Design Consistency: Review sample images or stitch-outs to ensure each letter maintains the chalk-split aesthetic without distortion.
Maximizing the Value of Chalk Split Alphabet -S
Once you’ve avoided the common pitfalls and verified compatibility, there are several ways to get the most out of Chalk Split Alphabet -S in your creative projects.
- Layer with Other Fonts: Combine Chalk Split Alphabet -S with simpler fonts to create contrast and visual interest in signs, banners, or personalized gifts.
- Use for Themed Projects: Its chalkboard-style appearance makes it perfect for rustic, vintage, or educational-themed items like aprons, tote bags, or classroom décor.
- Customize with Colors: Take advantage of the split-letter design by using multiple thread colors within a single word or phrase for a dynamic effect.
By approaching Chalk Split Alphabet -S with a bit of planning and attention to detail, you can elevate your embroidery work from ordinary to standout. Whether you're creating custom gifts, branding merchandise, or enhancing your personal crafting skills, this font offers a professional and stylish solution.
Final Thoughts
The Chalk Split Alphabet -S is more than just another embroidery font — it’s a versatile and well-crafted tool that, when used correctly, can enhance both the look and quality of your projects. Avoiding common mistakes like improper resizing, fabric mismatch, and machine compatibility issues will ensure you get the most out of every stitch. With a little preparation and the right approach, this bold, chalk-inspired font can become a staple in your embroidery toolkit.